
Hello there!
Gmail, The email service that was developed by Google which most of us use regularly in our day today life. Today I’m going to talk about Gmail APIs and how to simply manipulate one of its feature.
If we go to the Gmail API page and navigate to guides tab, you’ll be able to find the receiving push notifications sub topic.
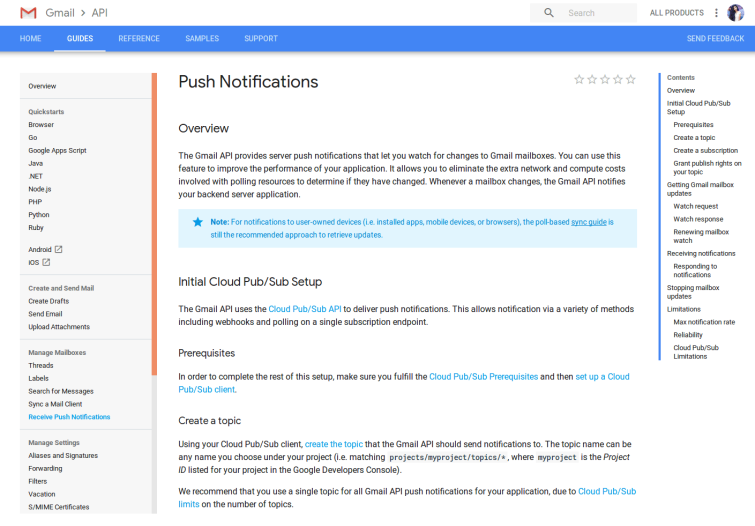
What happens in push notifications is that the Gmail API provides server push notifications that let us watch for changes to Gmail mailbox. If any changes were to happen to our Gmail mail box, with the push notifications configured, we will get a notification saying that this particular thing was changed.
I’m using Google App Scripts for this project. First, open a Google App scirpt by using this URL. You will get a page like shown below.

Provide a name for your project and go to Resources -> Advanced Google services. There you will get a window to switch on/off API services. As we are dealing with Gmail API, enable the Gmail API button. 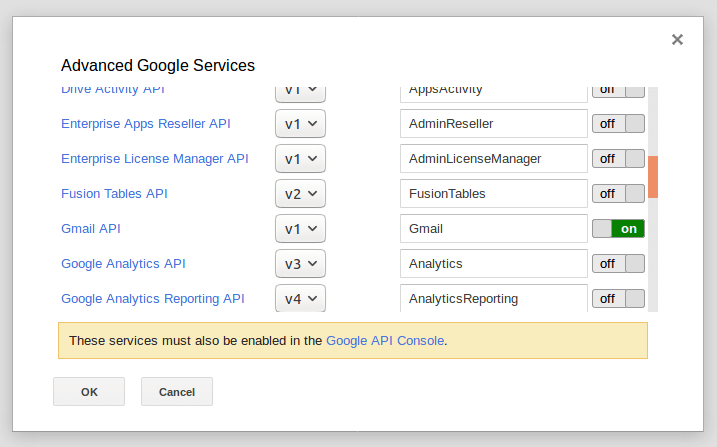
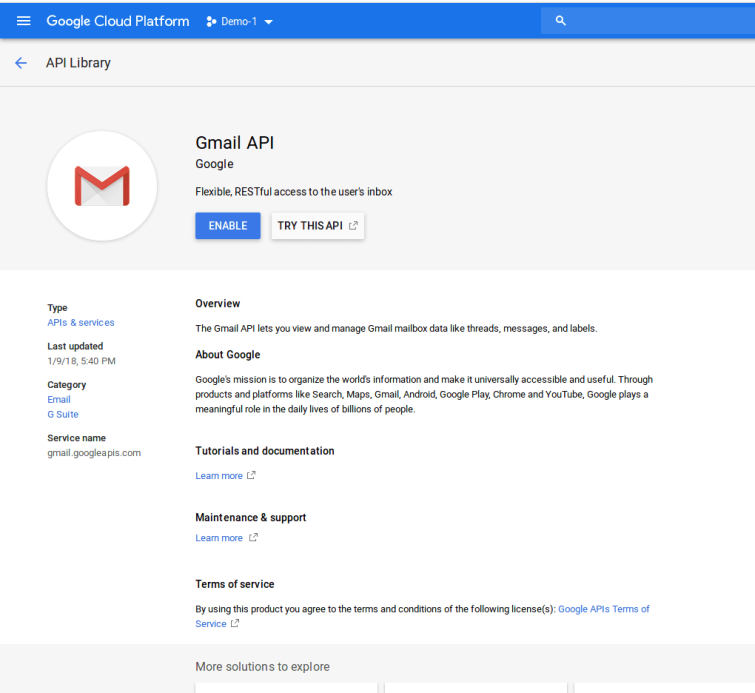
As it says “These services must also be enabled in the Google API Console“, navigate to the GAC. Search in for the Gmail API and enable it. Make sure that the correct project is selected when enabling the API.
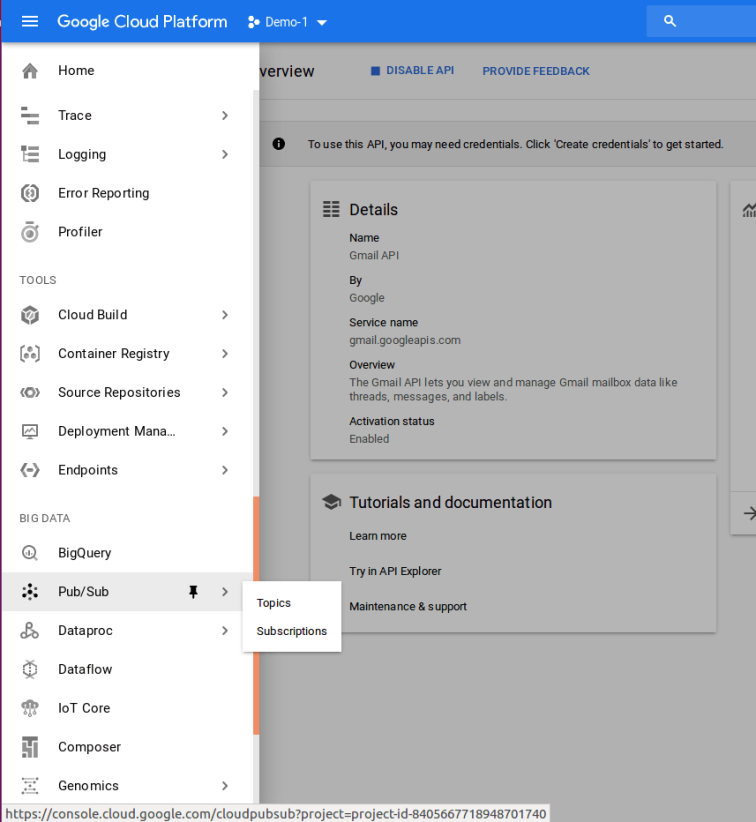
After that, click OK in your App script. Now we must do some configurations in Pub/Sub. To do that, go to the menu in GAC and select Pub/Sub.
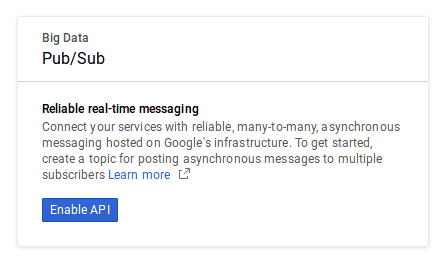
When you first go to the Pub/Sub, you will have to enable the API for real time messaging.
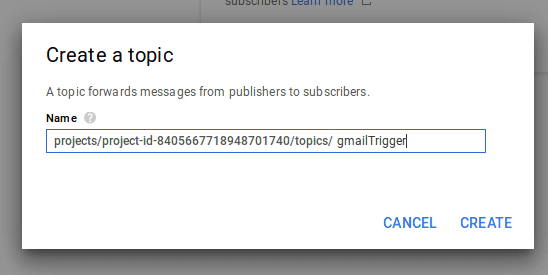
After that click the Create a topic button. This topic is going to be the queue that the Gmail API notifications service account will put the notifications into. Provide a suitable topic name and click create.
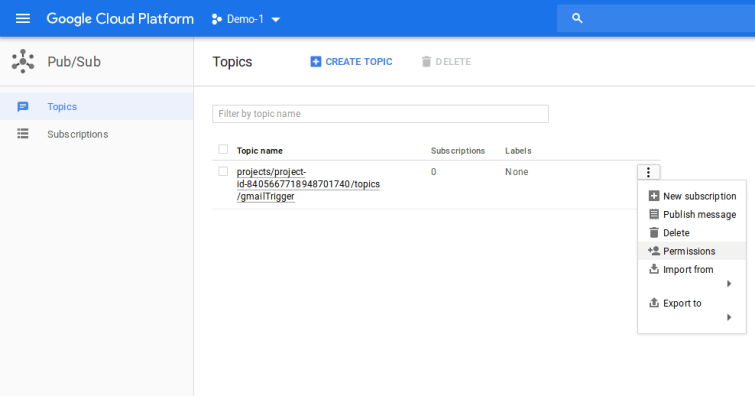
Now that we have created the topic, according to the Gmail API guide we need to grant publish rights to the topic. We must give publishing privileges to serviceAccount:gmail-api-push@system.gserviceaccount.com
To do that, select the topic you created and go to settings button and click on permissions.
In the Add member section, copy and paste the service account name given above and select Pub/Sub publisher in the roles field.
Next, we must create the subscription.

As you guys can see, we are creating the subscription under the topic we configured right now. now you must provide a suitable name for the subscription.
There are two types of delivery types.
- Pull – Pulling is that your app will time to time, check the messaging queue and retrieve messages from it.
- Push – In this method, the messaging queue will send a POST notification to your app to let you know that there is a change in your messaging queue.
To find out more about this, https://cloud.google.com/pubsub/docs/subscriber
We are interested in Push into an endpoint url. To provide the endpoint URL, we must do some configurations in our google app script. I will post the configuations in the next post.
After all the configurations, you must publish your app as a web app. To do that, go to Publish -> Deploy as web app.
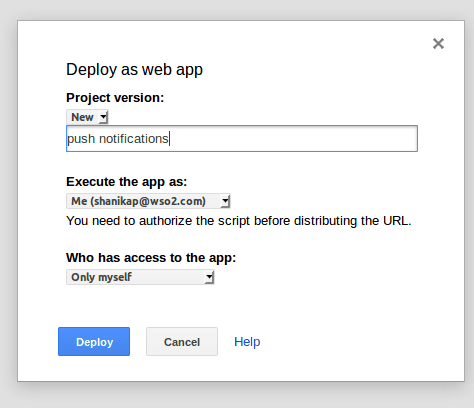
Provide a description and select Anyone even anonymous in Who has access to the app. Then click on Deploy button and copy the url.
Now we must add our domain. Go to API manager in GCA and go to Credentials -> Domian verification. To add a domain we must first register our app in the web store. To do that, go to Publish -> Register in Chrome web store. Click on Register button. Then you will get a notification like below.

Go ahead and paste the URL we copied earlier in a new tab and hit Enter. Even though you will get an error, copy the URL upto /exec. now click Add domain button and paste the copied URL. Now you have successfully added a domain to your project.
As you have now successfully created a endpoint URL, you can now enter this whole URL in the endpoint URL field and click Create.
That is all 🙂 I will publish the script configurations in a later post. Keep in touch and happy coding!
